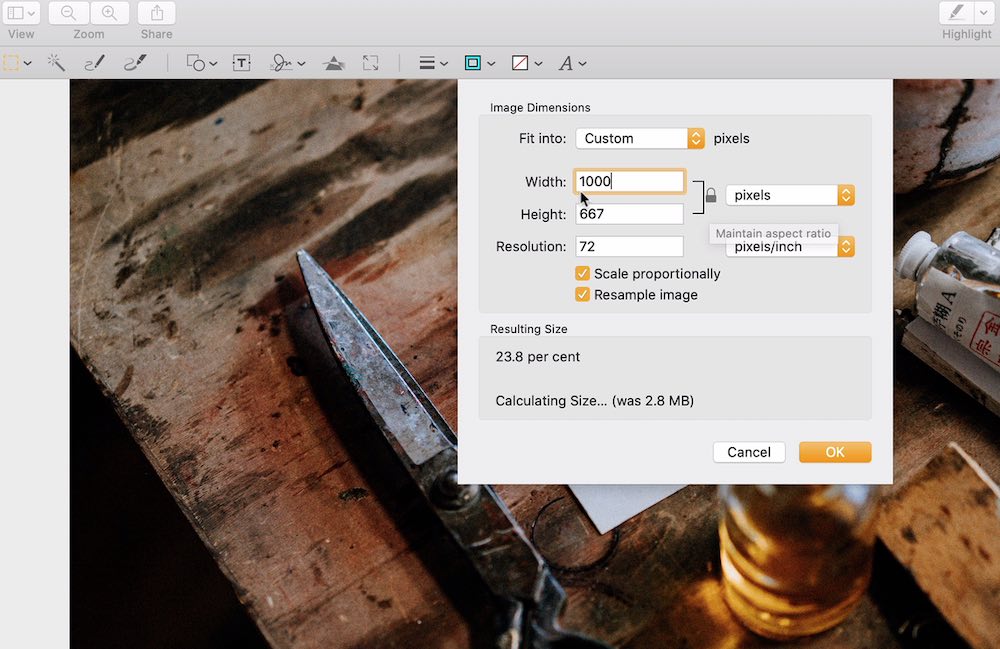
Having a fast loading website is important for users as they get the best experience on your site, without having to wait a long time for your webpage to load. It also helps with SEO as Google uses page speed as one of the things it takes into account when ranking a website.
Here, I will cover how you can optimise your images before you upload them to your website so that you will have faster loading times and smaller file sizes without compromising on image quality.
Ideal image sizes
Images with a large file size take longer to download to a visitors browser and slow down your website.
When we talk about image sizes, it is important to understand that there are two things that we are talking about. One is the actual dimensions of the image so the width and height in pixels, and two is the actual file size in terms of megabytes.
Both play a part in the optimisation of our webpage because the larger the file size in terms of megabytes, the more you have to wait for the larger file size to download. And the bigger the dimensions of the image, the more pixels your browser has to process in order to display the image.
It is therefore very important to ensure that we stick to a maximum file size and dimensions when we are dealing with web pages.
There is not exact science to this but below I will give you an idea of what I aim for when optimising images for webpages.
For most ‘full page’ web images, meaning that the image spreads across the entire width of the webpage, such as in the case of a background image, you want the image to ideally be around 80Kb-100Kb at most. If the image is only part of a page (e.g. half the width of a blog post), then 20Kb-30Kb is usually fine.
Now, sometimes these low file sizes can make certain images look less than desirable. This is especially true if you have images with a lot of details, they may not look as sharp and vibrant.
Because of this, depending on the type of image, you may want the quality to be bumped up a little bit, therefore, it is okay to go above these numbers.
But, you have to gauge how things look in comparison to the size in order to strike a good balance.
How to resize an image and reduce file size
You have to use image editing software to reduce resize and compress your image file. Here are some options for this:
- Free Web Applications (see list below)
- Mac Preview or Microsoft Paint
- Photo Editing Software (e.g. Photoshop, Affinity Photo, Gimp)
Free image optimisation websites
Below are some links to free web apps I’ve come across for optimising images for your website. Note that because these are free, you will most likely see ads running on the sites.
Be careful not to accidentally click on these ads when selecting the options within the app, otherwise, you will be taken to other websites trying to get you to make a purchase.
- https://picresize.com/ – Does cropping, resizing, compress, change format, batch processing
- https://imageresizer.com/ – Also, does cropping, resizing, image compression, format change, batch processing
- https://resizeimage.net/ – Resize Image (crop and compress file size)
- https://hnet.com/compress-jpeg/ – Compress Images
- https://croppola.com/ – Crops by aspect ratio e.g square
Need extra help?
Check out the resources I have on futurestepscreative.com including online training and ongoing support, to help you build and grow your website and audience with content marketing.
