Working out a system
Working out a system for you to publish your videos can help you work faster and more efficiently, therefore publishing more videos.
Today I’m going to walk you through my step-by-step process for creating and publishing YouTube videos for my online brand.
I find the best approach is to plan the video, create a content outline, do the filming and editing, then upload the video file to YouTube and optimise the information before publishing. Once the video is published, you can then promote it on social media.
Depending on the type of videos you do, you can adjust my process to suit your needs, but the basic principles apply to all types of videos.
Let’s jump into the details.
Step 1. Plan your video

For me it all starts with coming up with the topic for the video based on my overall content plan.
Then, I try to find the most relevant points to make on that topic and note them down in my digital note taking app. At this point, I will then do some research online to double-check the facts and make sure that I have the correct information.
I’ll also check any other content that’s already available on this topic to see how I can improve on it or address things from a different perspective.
As a side note, YouTube tends to show other videos in the suggested videos section that are related to the video the viewer is watching. That means if your video can somehow compliment a popular video, then you stand a good chance of still getting views, without having to show up at the top.
Step 2. Create an outline for your video content
Although it can be easy enough to simply go straight to recording the video, it is much better to create an outline on how the video needs to flow. Some people actually write scripts, but I find scripts can come across very flat or lack personality.
To create an outline you can simply use a numbered list or bullet points to indicate what you want to cover. Under each point you can add some important sub points that you do not want to leave out.
Doing it this way makes the video flow much better and comes across authentic.
Step 3. Record the video

This is the fun part (for me anyway) where you get to present the content. Typically I am doing direct to camera presentations (talking head style) as well as screen recordings. In this case, I am recording directly to my computer using a webcam and USB microphone connection which then gets captured into my screen recording software.
In other cases, I may use my standalone camera which records to an SD card. I will then need to take the card out of the camera and copy the footage to my computer.
I actually use an external SSD to store my footage simply because I have more storage to play with, but also because it frees up my built in storage on my computer and makes the editing process easier.
Just before I start recording I normally take a quick run through of my outline to make sure I have it fresh in my mind. When I actually start recording I tend to do several warmup takes, in order to find my rhythm. During this process I generally keep The camera rolling and I will pause in between takes and also do a triple handclap so that I can see the spike in the audio file in order to know where I need to edit.
Step 4. Edit your YouTube video

Depending on your shooting style, you may not need to do a lot of editing. In some cases you may just need to trim the ends off the footage in order to tighten things up.
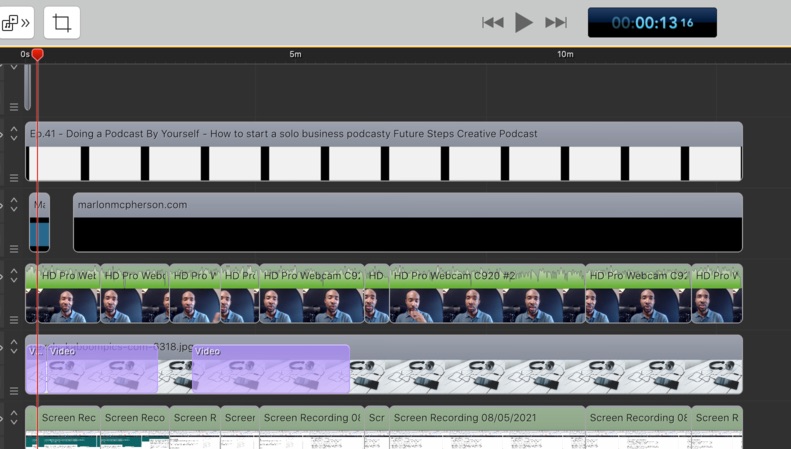
In other cases, you may need to do more extensive editing, where you’ll probably be spending quite a lot of time to make sure you go through all the footage. The ending process can involve several different things, but typically, you’ll need to remove any unwanted sections, add in other media such, as graphics, cutaway footage (B-roll), and music, or you may want to adjust audio levels and image colour.
Once you’ve edited the video to the desired standard, you will then need to export the appropriate file, ready for you to upload. Normally I export to the MP4 file format which is universally acceptable by most platforms.
Step 5. Upload your video to YouTube

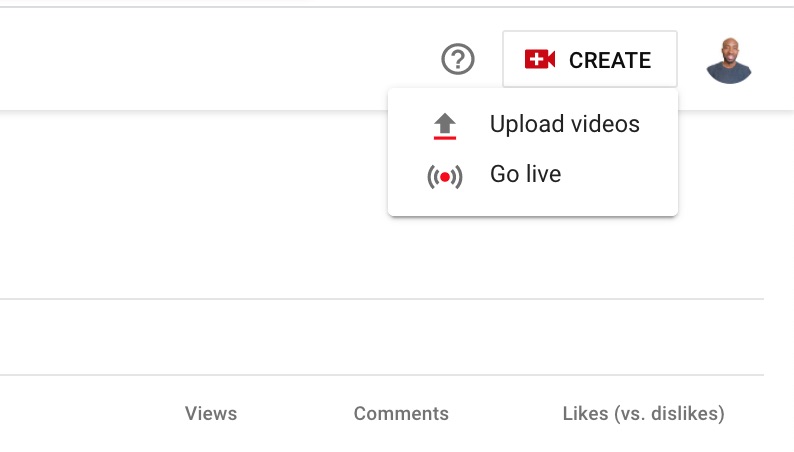
Once you’ve edited and exported your video, the next step is to upload your video file to your YouTube account. During the upload process I make sure that the video’s visibility is set to either private or unlisted, instead of public. That way, the video will not go live until I am ready for it to do so.
Depending on your video size or your internet upload speed, the video may take several minutes to upload. While you wait for this to happen, you can add the appropriate video title and description. If you wish to, you can also add tags to help your video get found.
Another thing that you’ll need to do is to select an appropriate image thumbnail for your video. You can select from several options that YouTube presents taken from various sections of your video, or you can upload a custom thumbnail image.
Once your video completes uploading and you’ve added all the relevant information, you can then do a final check, and either schedule it to go live at a later time, or you can go live straight away by selecting public.
Step 6. Share your YouTube video on social media
Yay for you! You’ve successfully published your YouTube video. But, there’s one more thing you may need to do.
YouTube likes to see lots of activity around videos which signals to them that there’s something going on that they may need to look. This means the more people engaging with your video, the higher the chances that your video will be recommended by YouTube.
To help things along, what you can do is share the video to social media, as well as encourage others to share and leave comments.
Final thoughts
Creating videos for YouTube can be fun and highly rewarding for your business or brand. The key is the find a workflow and rhythm that works for you, so that you can create videos with ease and become more efficient.
As with all types of content creation, the more you do it, the better you become.
Need ongoing help?
Check out the resources I have on futurestepscreative.com including online training and ongoing support, to help you build and grow your website and audience with content marketing.
