It is important to add your website to Google search console in order to see some key information about what search terms are bringing in traffic to your pages.
Adding the site is pretty straightforward. You need to sign up for Search Console using an existing Google account (same as a Gmail account), then add your website domain as a “property”.
This post will cover the verification process which needs to be do in order to prove that the site is yours.
The Google Search Console verification process
If you’ve just added your website to Google search console, it will need to be verified in order for you to enable all the features within the search console.
This post will walk you through the verification process using DNS records
Unverified sites will show up in a section separate A area labeled “NOT VERIFIED”.
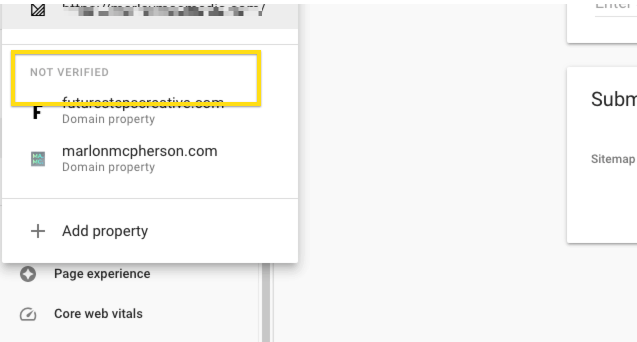
To verify your website click the domain name in the list and you’ll get the dialogue box that says verify by DNS record. A dialogue box will appear for you to select your DNS manager and start the verification process.
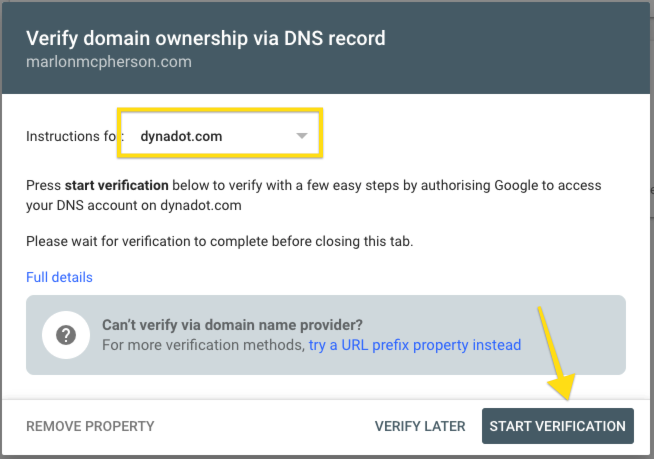
Once you’ve selected your DNS manager from the list, go ahead and click start verification. You will automatically be taken to the login page for your DNS manager where you’ll need to authorise Google to gain access.
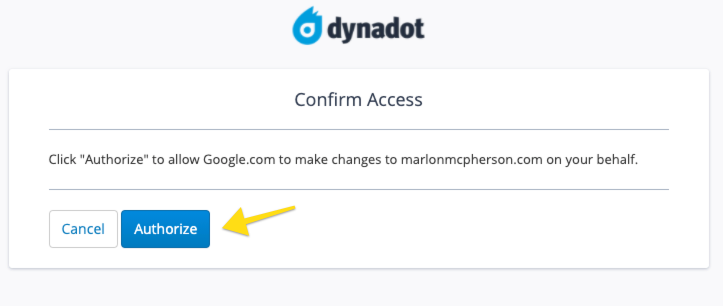
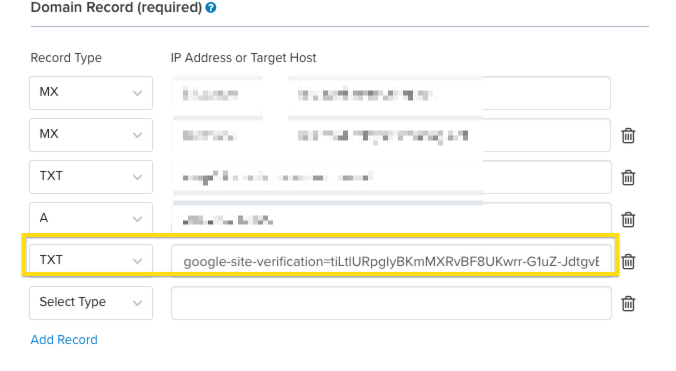
Once you’ve logged in and confirmed the authorisation, Google will automatically add a TXT record to your DNS records and attempt to verify your domain.
The process should be complete after a few seconds. But, because DNS records can take some time to be picked up you may get a “failed verification” error.
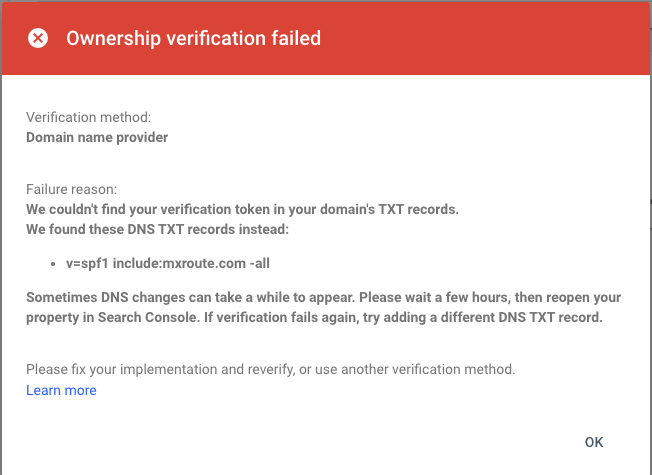
If this happens check that the TXT records have been entered and give it a few minute before you try again.
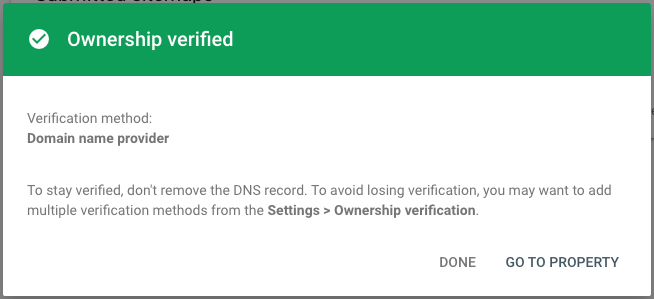
Eventually the verification will go through and you’ll get a confirmation message.
The domain will now be fully verified inside Google search console.
.
Need extra help?
Check out the resources I have on futurestepscreative.com including online training and ongoing support, to help you build and grow your website and audience with content marketing.
